

Creating Stunning House Style Renderings with Effective House Rendering Techniques

When it comes to showcasing architectural projects, nothing beats a stunning house style rendering. These visual representations bring blueprints and ideas to life, making it easier to communicate design intent and attract potential buyers or investors. I’ve worked closely with developers, realtors, architects, and home builders, and I can tell you that mastering house rendering techniques is essential for creating visuals that truly stand out.
In this post, I’ll walk you through practical tips and insights to help you create impressive house style renderings. Whether you’re new to architectural visualization or looking to refine your skills, this guide will provide clear, actionable advice to elevate your work.
Essential House Rendering Techniques to Elevate Your Visuals
To create compelling house renderings, you need to focus on several key techniques. These techniques ensure your renderings are not only visually appealing but also accurate and informative.
1. Choose the Right Software and Tools
The foundation of any great rendering is the software you use. Popular tools like SketchUp, 3ds Max, Lumion, and Blender offer powerful features for modeling and rendering. I recommend selecting software that fits your workflow and project needs. For example:
SketchUp is great for quick modeling and conceptual designs.
3ds Max combined with V-Ray or Corona Renderer produces photorealistic images.
Lumion excels in real-time rendering and adding environmental effects.
Blender is a free, open-source option with robust rendering capabilities.
2. Focus on Lighting and Shadows
Lighting can make or break a rendering. Natural light helps highlight architectural details and creates a realistic atmosphere. When setting up your scene, consider:
The time of day and how sunlight interacts with the building.
Soft shadows to add depth without harsh contrasts.
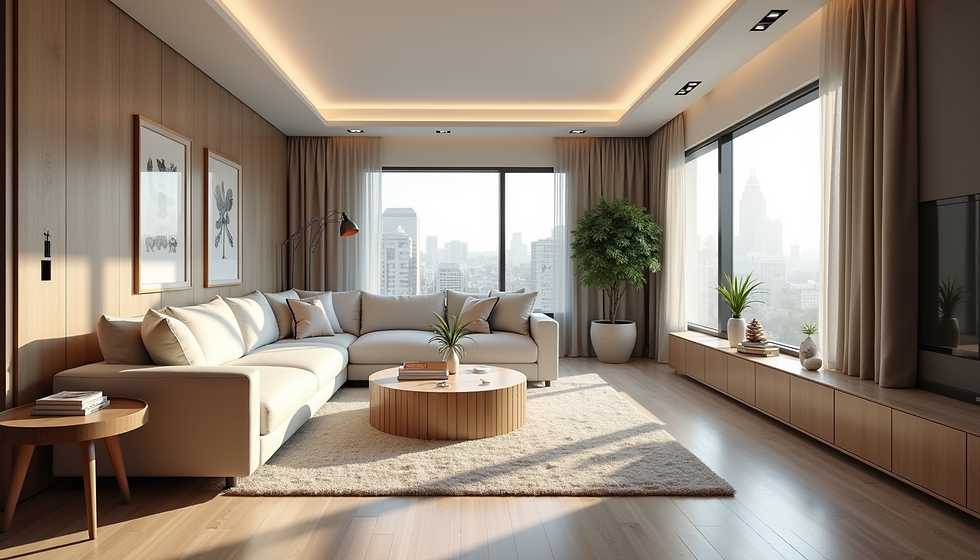
Interior lighting to showcase rooms and materials.
Experimenting with different lighting setups will help you find the perfect balance that enhances your design.
3. Use High-Quality Textures and Materials
Textures add realism to your renderings. Using high-resolution materials for walls, roofs, windows, and landscaping elements makes a big difference. Pay attention to:
Material properties like glossiness, bump maps, and reflections.
Consistency in texture scale to avoid distortion.
Realistic colors that match the actual materials planned for construction.
4. Incorporate Landscaping and Surroundings
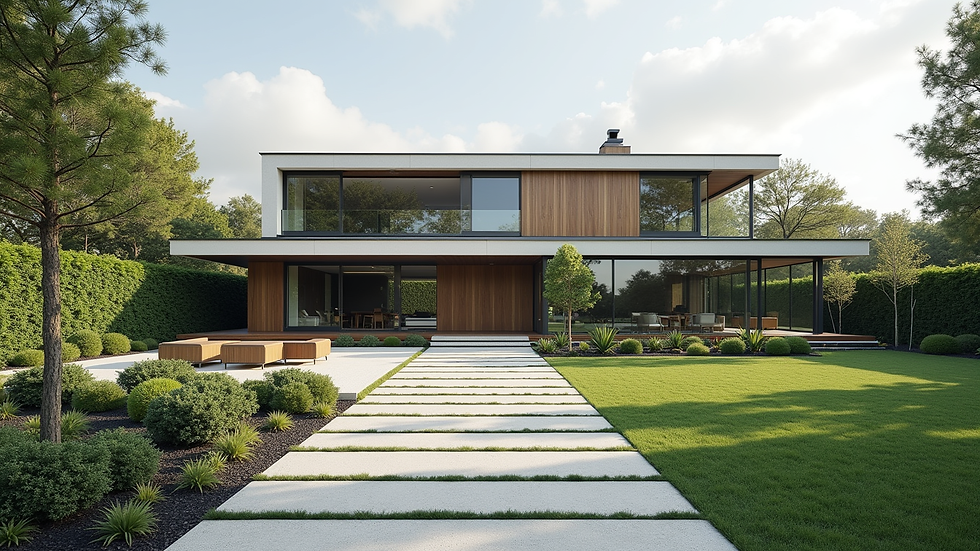
A house doesn’t exist in isolation. Including landscaping elements such as trees, shrubs, pathways, and outdoor furniture helps viewers imagine the full environment. This context adds life to your renderings and makes them more relatable.
5. Optimize Camera Angles and Composition
Choosing the right camera angle is crucial. Eye-level views often work best to showcase the house as a person would see it. Wide-angle shots can capture the entire property, while close-ups highlight architectural details.
Keep your composition balanced by following basic photography principles like the rule of thirds. This guides the viewer’s eye and creates a pleasing visual flow.

What is the Rendering of a House?
Rendering a house means creating a detailed visual representation of a building design using computer graphics. It transforms architectural plans into images or animations that look like photographs or artistic illustrations.
Renderings serve multiple purposes:
Visualization: They help stakeholders understand the design before construction begins.
Marketing: Realtors and developers use renderings to attract buyers by showcasing the property’s potential.
Design Validation: Architects and builders can spot design issues early and make adjustments.
There are different types of house renderings:
2D renderings: Flat images showing elevations or floor plans with textures.
3D renderings: Three-dimensional images that provide depth and realism.
Walkthrough animations: Video tours that simulate moving through the house.
Each type has its place depending on the project’s goals and audience.
Step-by-Step Guide to Creating Stunning House Style Renderings
Now that you understand the basics, let’s dive into a practical workflow to create your own stunning house renderings.
Step 1: Gather Reference Materials
Start by collecting architectural drawings, floor plans, and any design notes. If possible, get photos of the site and surrounding area. This information ensures your rendering is accurate and contextually relevant.
Step 2: Build the 3D Model
Using your chosen software, create a detailed 3D model of the house. Focus on:
Accurate dimensions and proportions.
Structural elements like walls, roofs, windows, and doors.
Interior layouts if you plan to render inside views.
Don’t rush this step. A precise model is the backbone of a great rendering.
Step 3: Apply Materials and Textures
Next, assign materials to your model surfaces. Use realistic textures for bricks, wood, glass, and roofing. Adjust material properties to simulate reflections, roughness, and transparency.
Step 4: Set Up Lighting
Configure your lighting based on the scene’s environment. For outdoor renderings, simulate sunlight and sky illumination. For interiors, add artificial lights like lamps and ceiling fixtures.
Step 5: Add Landscaping and Details
Incorporate plants, trees, furniture, and other outdoor elements. These details make the scene feel lived-in and complete.
Step 6: Choose Camera Angles and Render Settings
Pick camera positions that best showcase the design. Adjust render settings for resolution, quality, and effects like depth of field or ambient occlusion.
Step 7: Post-Processing
After rendering, use image editing software to enhance colors, contrast, and sharpness. This final polish can elevate your image from good to stunning.
Tips for Marketing and Presenting Your Renderings
Creating a beautiful rendering is only half the battle. Presenting it effectively can make a huge difference in how your project is received.
Use multiple views: Show exterior, interior, and aerial perspectives.
Create comparison images: Place renderings side-by-side with floor plans or site photos.
Prepare walkthrough videos: These immersive experiences engage viewers more deeply.
Highlight key features: Use annotations or callouts to explain design elements.
Optimize file formats: Use high-resolution images for print and web-optimized versions for online sharing.
By combining these strategies, you can communicate your vision clearly and professionally.
Why Choose Professional Rendering Services?
While it’s possible to create renderings yourself, partnering with experts can save time and ensure top quality. Professional services bring:
Advanced technical skills and software.
Experience in architectural visualization.
Attention to detail and creative input.
Faster turnaround times.
For example, if you want a sharp rd house style rendering that captures every detail with precision, working with a specialized team can make all the difference.
Bringing Your Architectural Vision to Life
Creating stunning house style renderings is a powerful way to showcase your projects. By mastering house rendering techniques, you can produce visuals that are not only beautiful but also clear and informative. Remember to focus on accurate modeling, realistic materials, thoughtful lighting, and compelling composition.
Whether you’re marketing a new development or refining a design, high-quality renderings help you communicate your vision effectively. Keep practicing, experimenting, and refining your skills. The more you invest in your renderings, the more successful your projects will be.
If you want to take your architectural visualization to the next level, consider collaborating with professionals who specialize in this craft. Together, you can create images that truly bring your designs to life.


Comments